Building & Testing a Frontend App with Truffle 3.0
Truffle 3 is out and switched to less opinionated build process that allows any build pipeline to be plugged in. We're going to take advantage of that feature today, and build a frontend app with a custom pipeline.
Intended Audience
This is written for those familiar with Truffle and Ethereum, who want a sense of how to structure a frontend application for easy development and testing. This example uses webpack, but familiarity with other build tools is enough background.
What does a build process need to do in Truffle 3?
In general, simple: Turn all higher level code (like ES6, SASS, JSX, templates, etc.) into vanilla Javascript/HTML/CSS artifacts, and then move those artifacts into the build folder alongside our contract artifacts.
What this tutorial does
Uses webpack to compile the application's frontend code and move the artifacts into the build folder.
Getting Started
If you were using Truffle beta 3.0.0-9 or below, do not immediately upgrade. Read these release notes and the upgrade guide first.
Once you have Truffle 3 installed, run truffle init webpack in an empty directory to pull down the webpack example for this tutorial (repository here). If you're coming from Truffle 2, you'll notice your old friends Metacoin.sol and ConvertLib.sol are still there. But now, running truffle build does this:
root@b1c71a2e1a6e:/app# truffle build
Error building:

No build configuration specified. Cant build.

Build failed. See above.
That's ok! Truffle 3 is getting out of your way and letting you control the build process. Our new process is specified in webpack.config.js. More on this later.
Compile, migrate, and …
In order to interact with contracts, we need them deployed on a network! The default network is configured in truffle.js:
...
networks: {
  development: {
    host: '127.0.0.1',
    port: 8545,
    network_id: '*' // Match any network id
  }
}
...
Let's get the contracts on the network:
First run truffle compile. This will compile the .sol contracts into .json artifacts (specified in the truffle-contract library). They will appear in build/contracts/*.json. Now we can include contracts in our app with a simple import or require statement:
// Import our contract artifacts and turn them into usable abstractions.
import metacoin_artifacts from '../../build/contracts/MetaCoin.json'
Next run truffle migrate. This will deploy the contracts onto the default network running at 127.0.0.1:8545.
… (webpack) build
All that's left is to use webpack to compile the app and place it in the build/ folder. A simple npm run build and we're done!. Relevant configs here:
// file: package.json
...
  "scripts": {
    "lint": "eslint ./",
    "build": "webpack",
    "dev": "webpack-dev-server"
  },
...
// file: webpack.config.js
...
entry: './app/javascripts/app.js',
output: {
  path: path.resolve(__dirname, 'build'),
  filename: 'app.js'
},
plugins: [
  // Copy our app's index.html to the build folder.
  new CopyWebpackPlugin([
    { from: './app/index.html', to: 'index.html' }
  ])
],
...
You can find more information on webpack concepts on Webpack's website. Notice we didn't have to use webpack here. But Truffle comes with a handy webpack demo that gets us started quickly. We could replace the webpack config with a Gruntfile, for instance, and use Grunt instead. Truffle 3 don't care no mo'.
The App
After building, run truffle serve which will serve the build/ folder's contents on 127.0.0.1:8080. To see it, navigate to 127.0.0.1:8080/index.html. You should see:
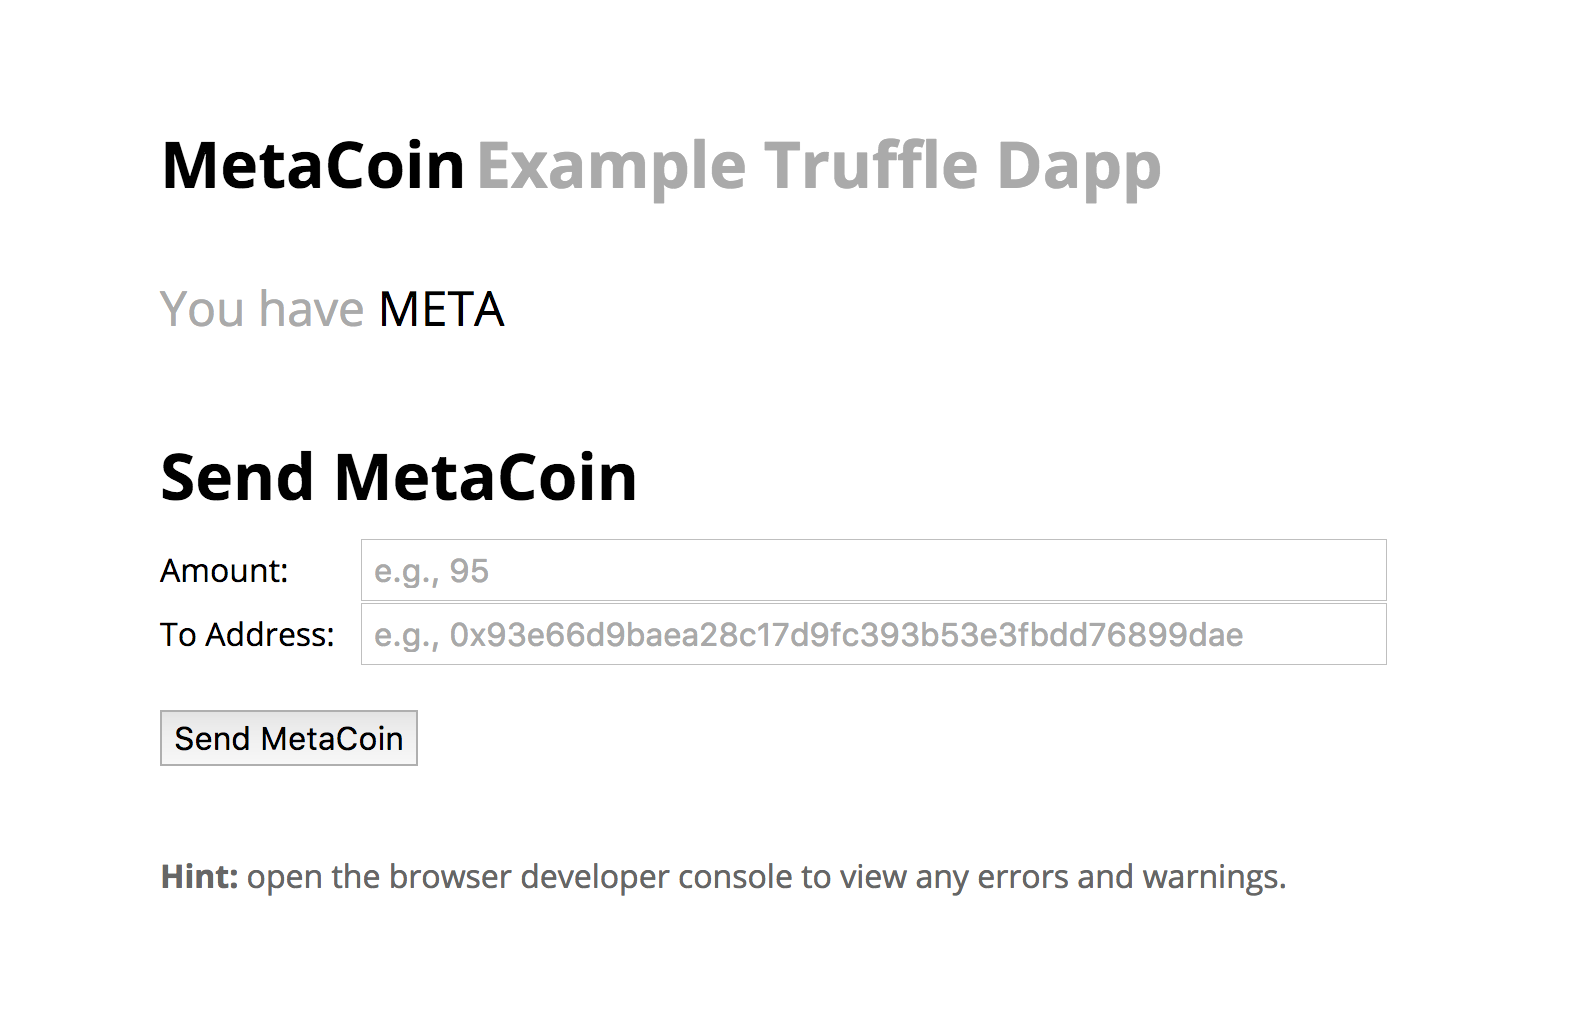
That's it, all done! Happy Truffling!
Extra: Webpack + Docker + Travis CI
If you want to see how to deploy a frontend app using Docker and Travis build pipeline, check out my frontend example for added goodness.